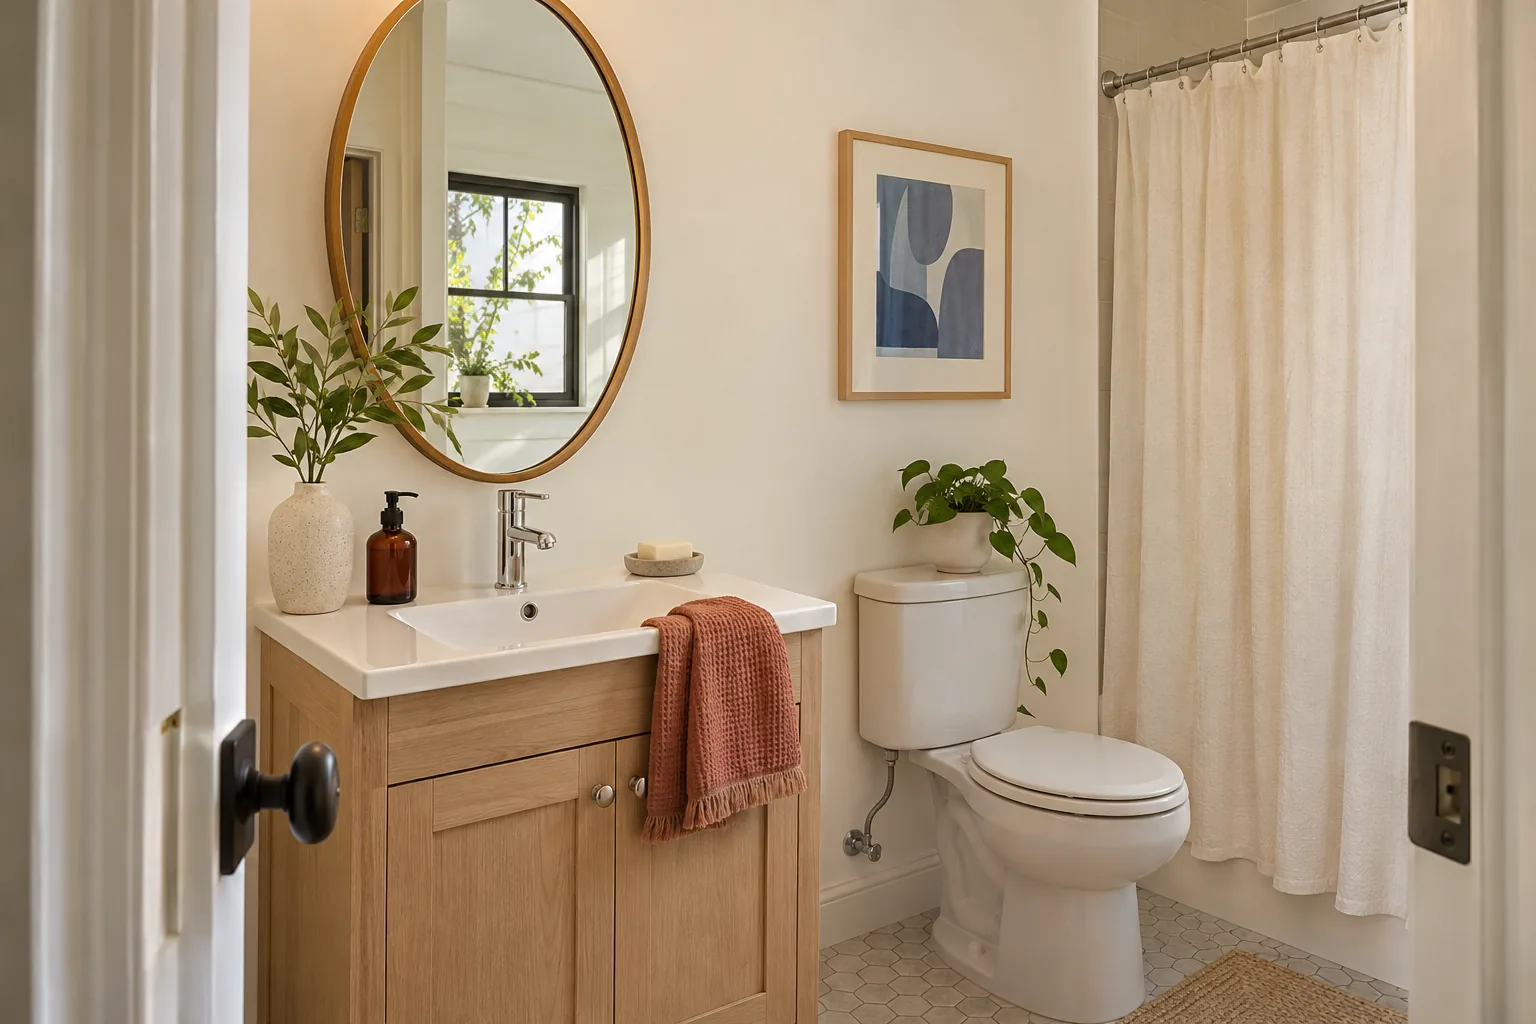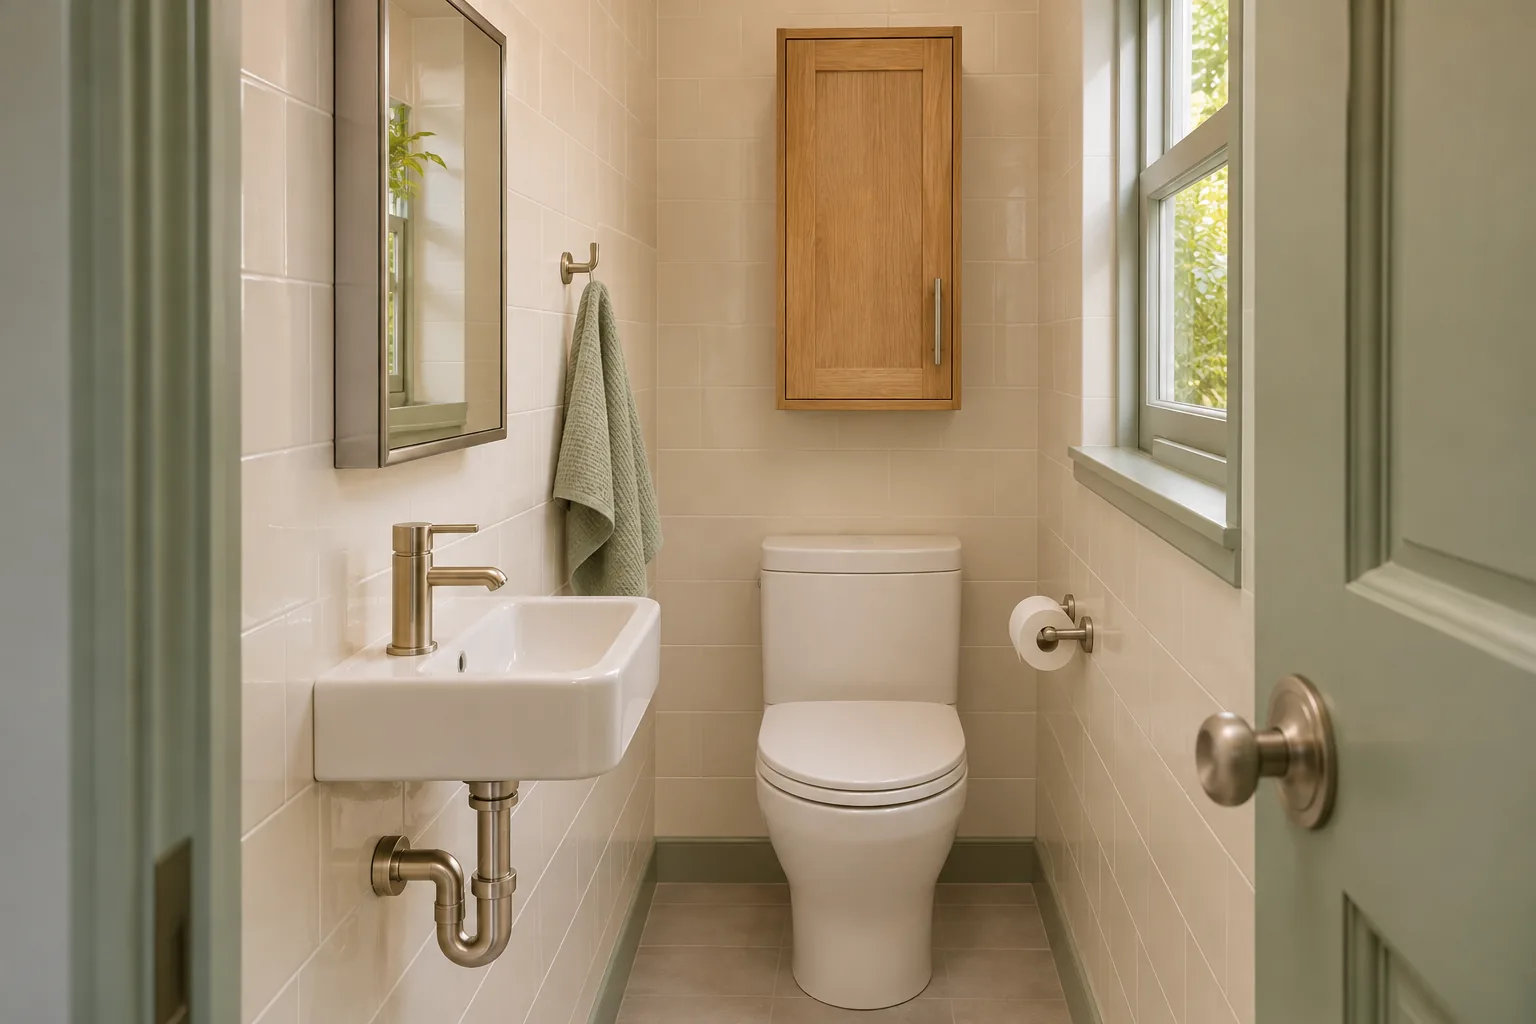
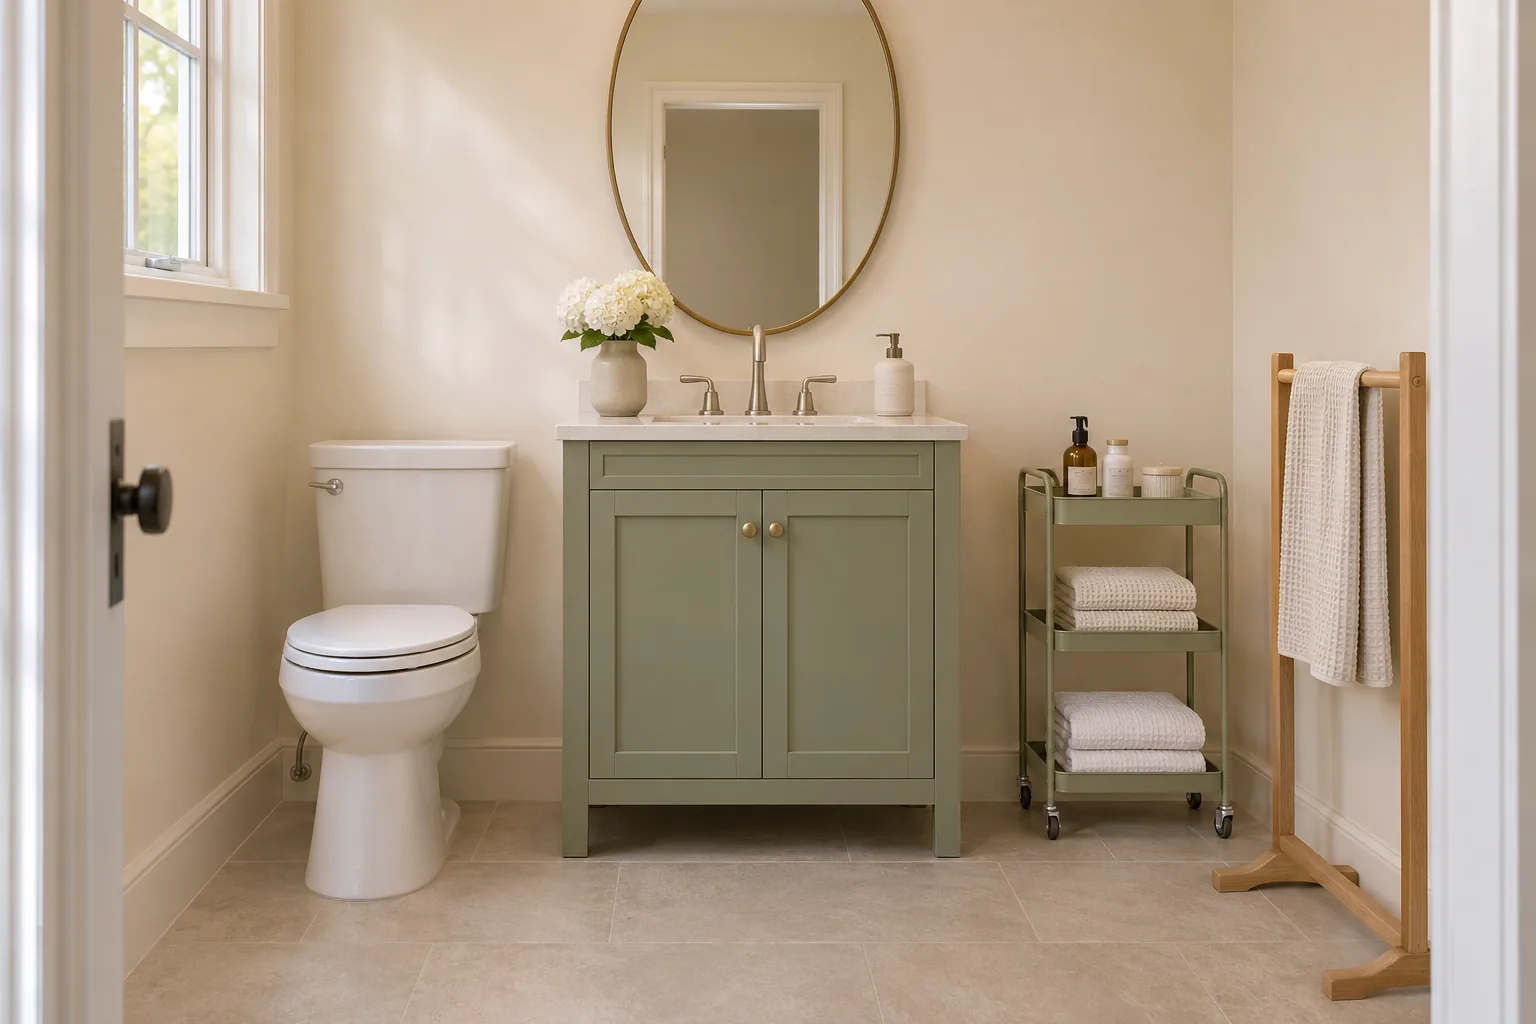
These renter friendly bathroom storage ideas make space for towels, toiletries, and spare rolls without drilling. Start with the places that can take storage without getting in the way: an unused floor corner, the inside of a vanity, or the back of a door. Check your lease before attaching anything.
Table of Contents
Drill-free storage ideas
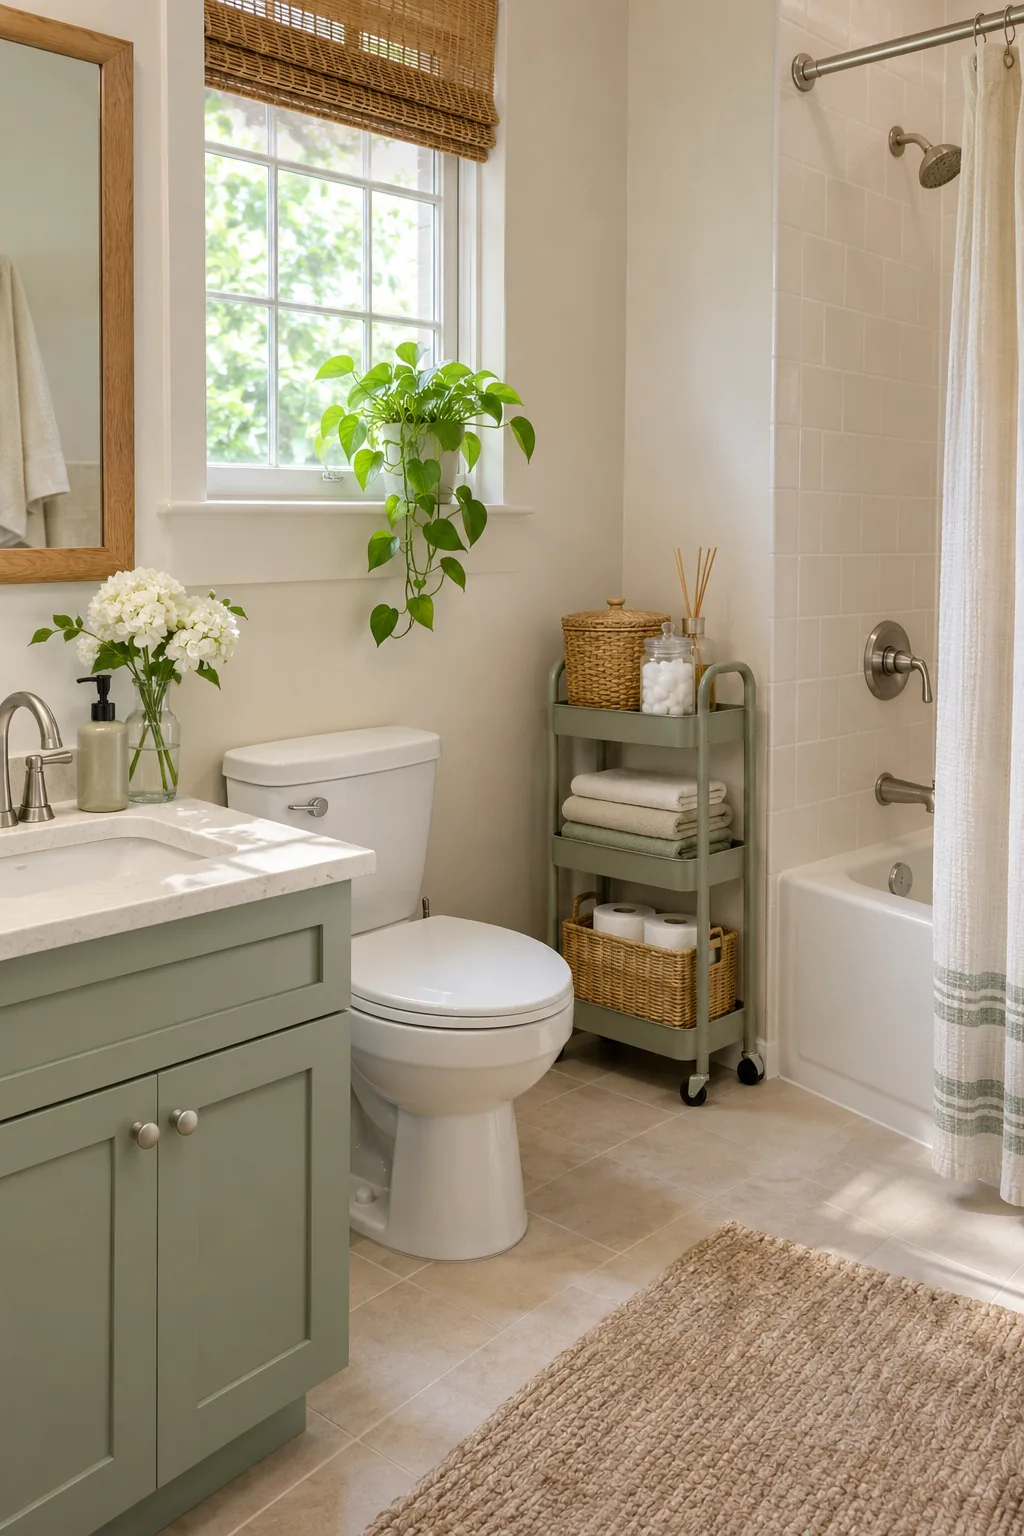
1. Roll a slim cart into a dry corner
Put folded towels on the upper shelf and heavier items low so the cart stays steady. Measure its full width, including wheels and handles. Park it on level flooring where it leaves the bathroom door, toilet, and shower exit clear.
 Save
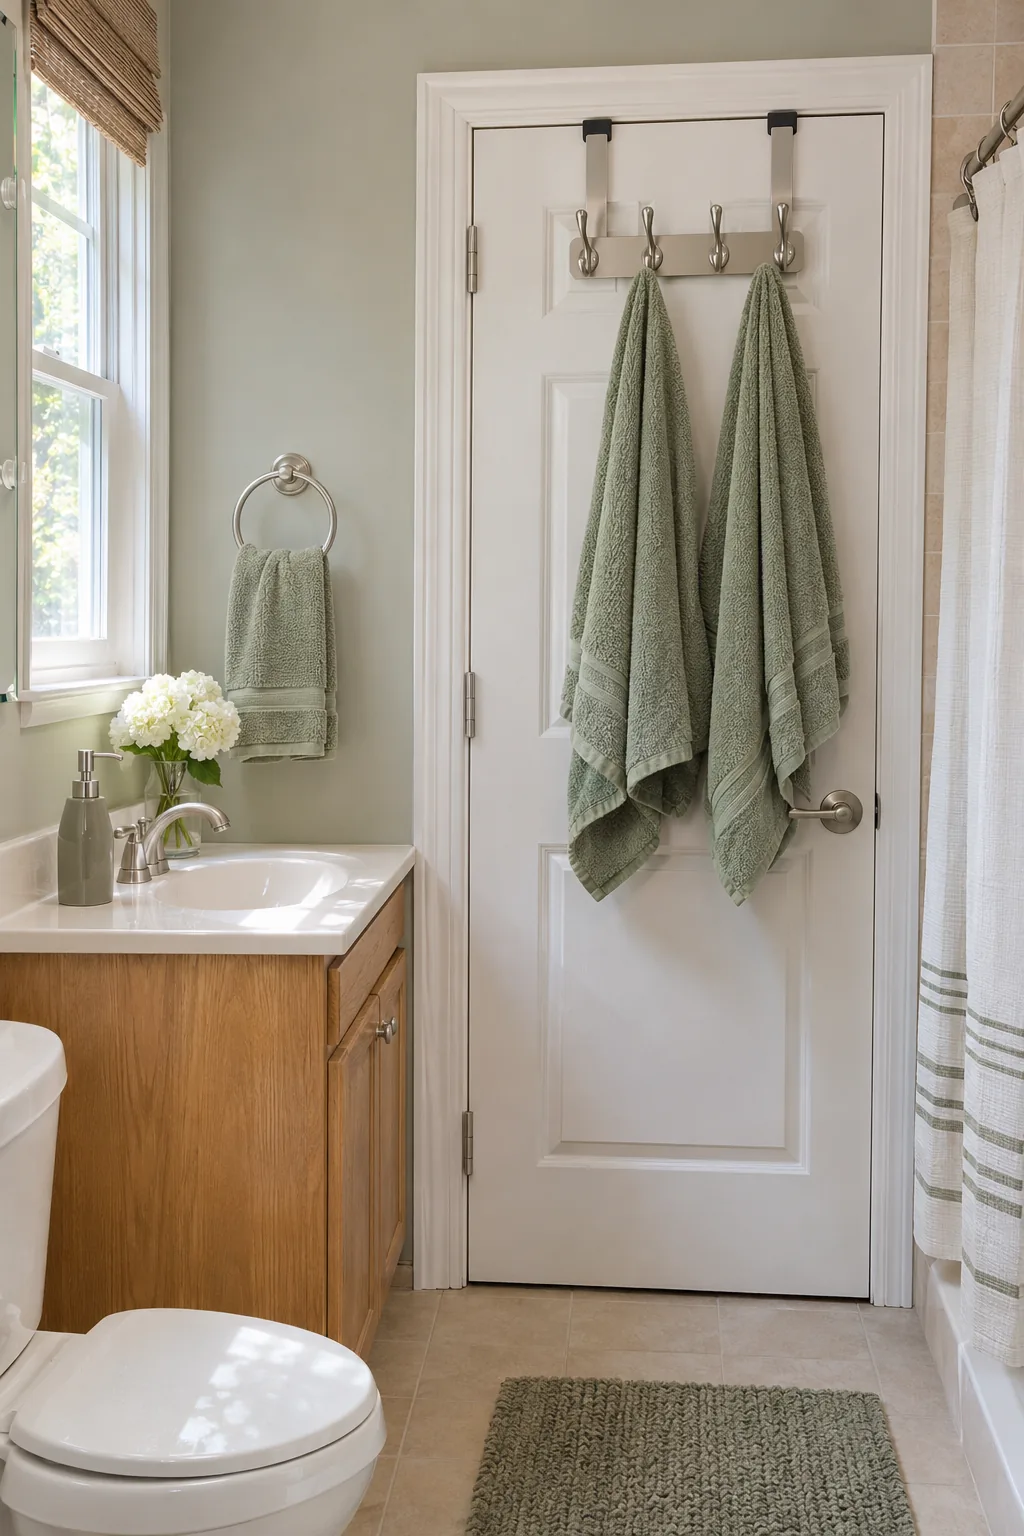
2. Hang towels on padded over-door hooks
Choose a hook that fits the door thickness and has a soft backing to protect the finish. Test the door with towels hanging before settling on a spot. It should latch freely, and damp towels need room to dry without overlapping.
 Save
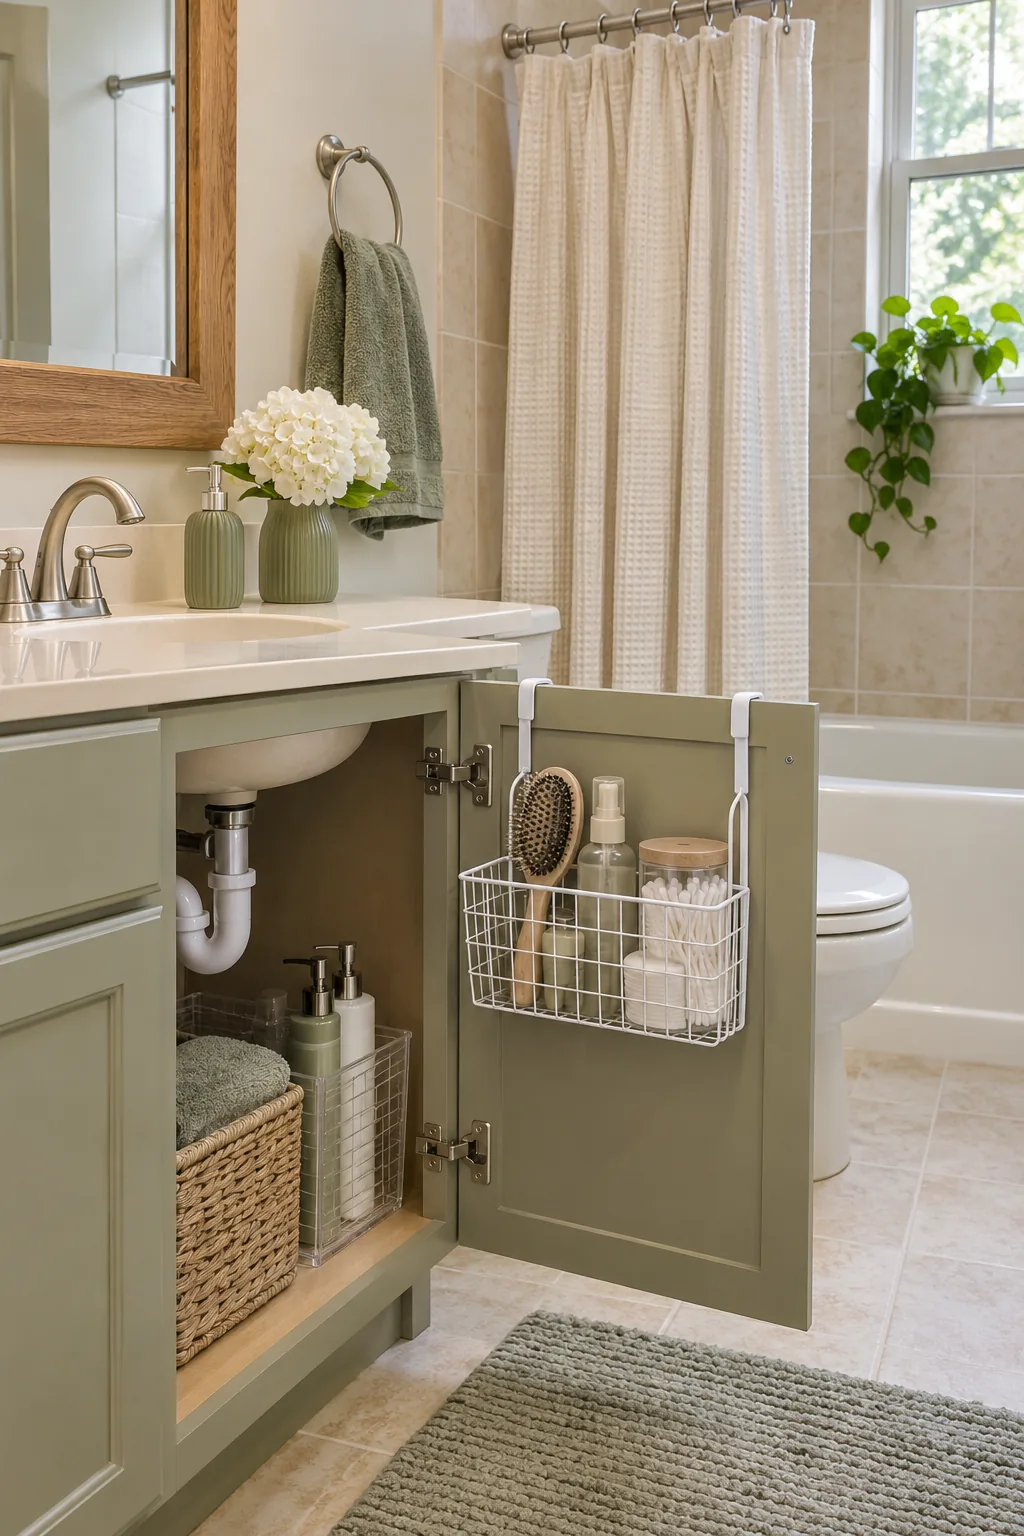
3. Hang a basket inside the vanity door
Choose a shallow padded over-door basket for a comb or a few small toiletries. Check that its rim clears the cabinet frame and that the basket misses pipes and shelves when the door closes. Follow the basket and door hardware limits.
 Save
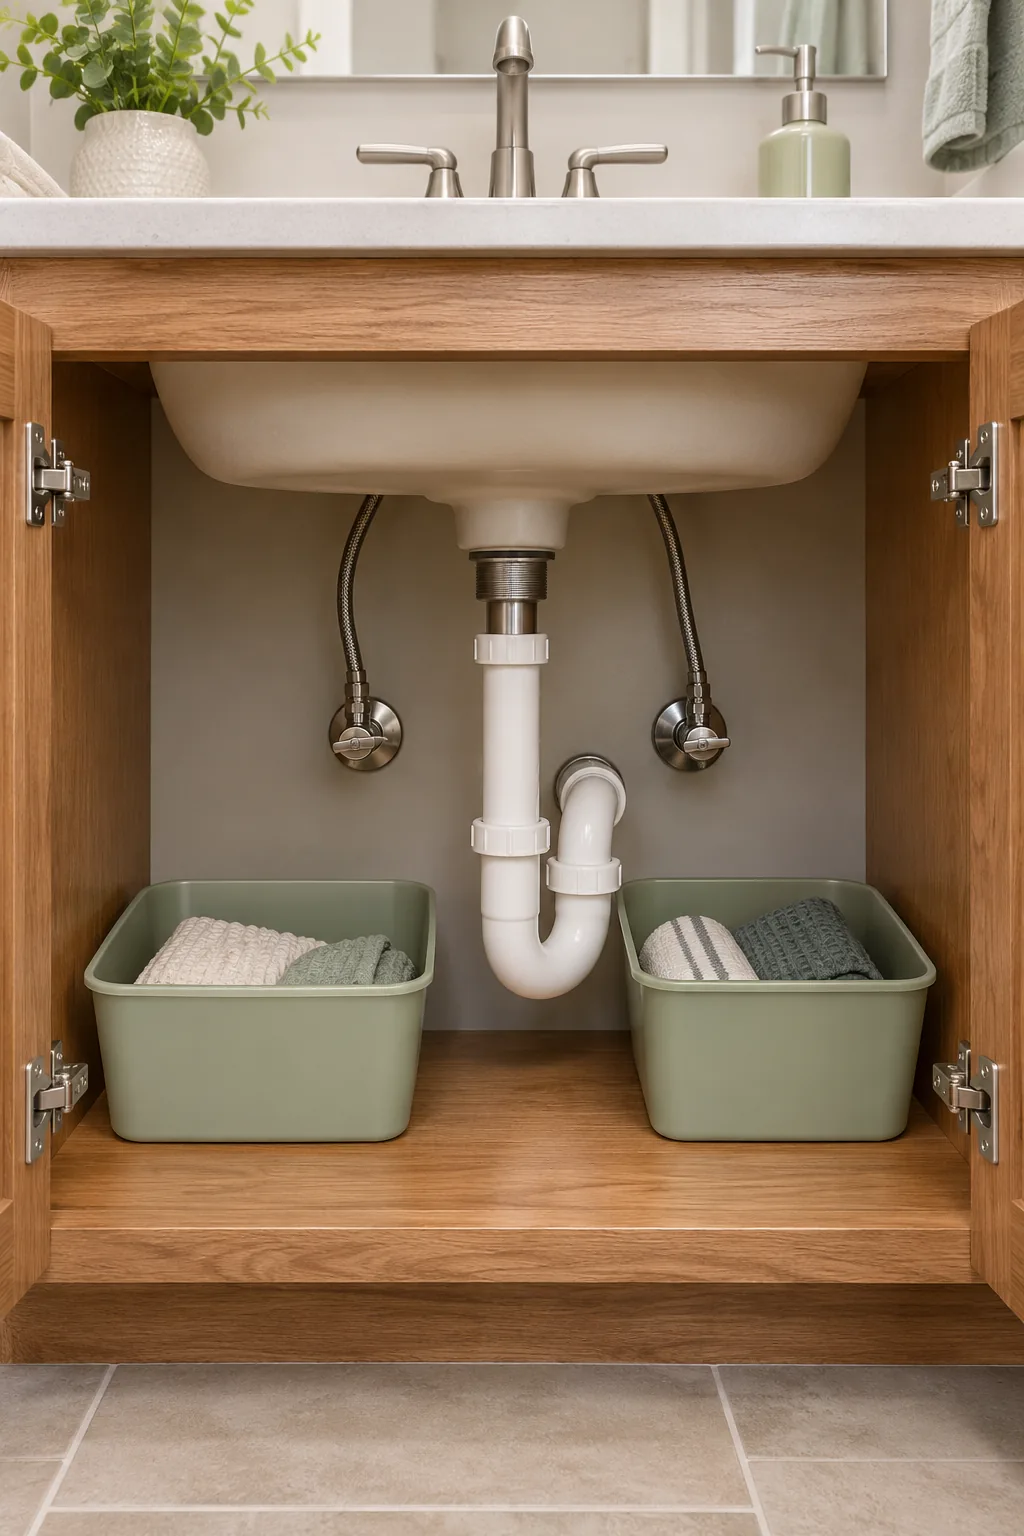
4. Fit separate bins around the drainpipe
Use two small lift-out bins instead of one deep container under the sink. Leave the trap and shutoff valves visible and reachable. Use washable bins for dry supplies, and move everything out to check for leaks before loading the cabinet.
 Save
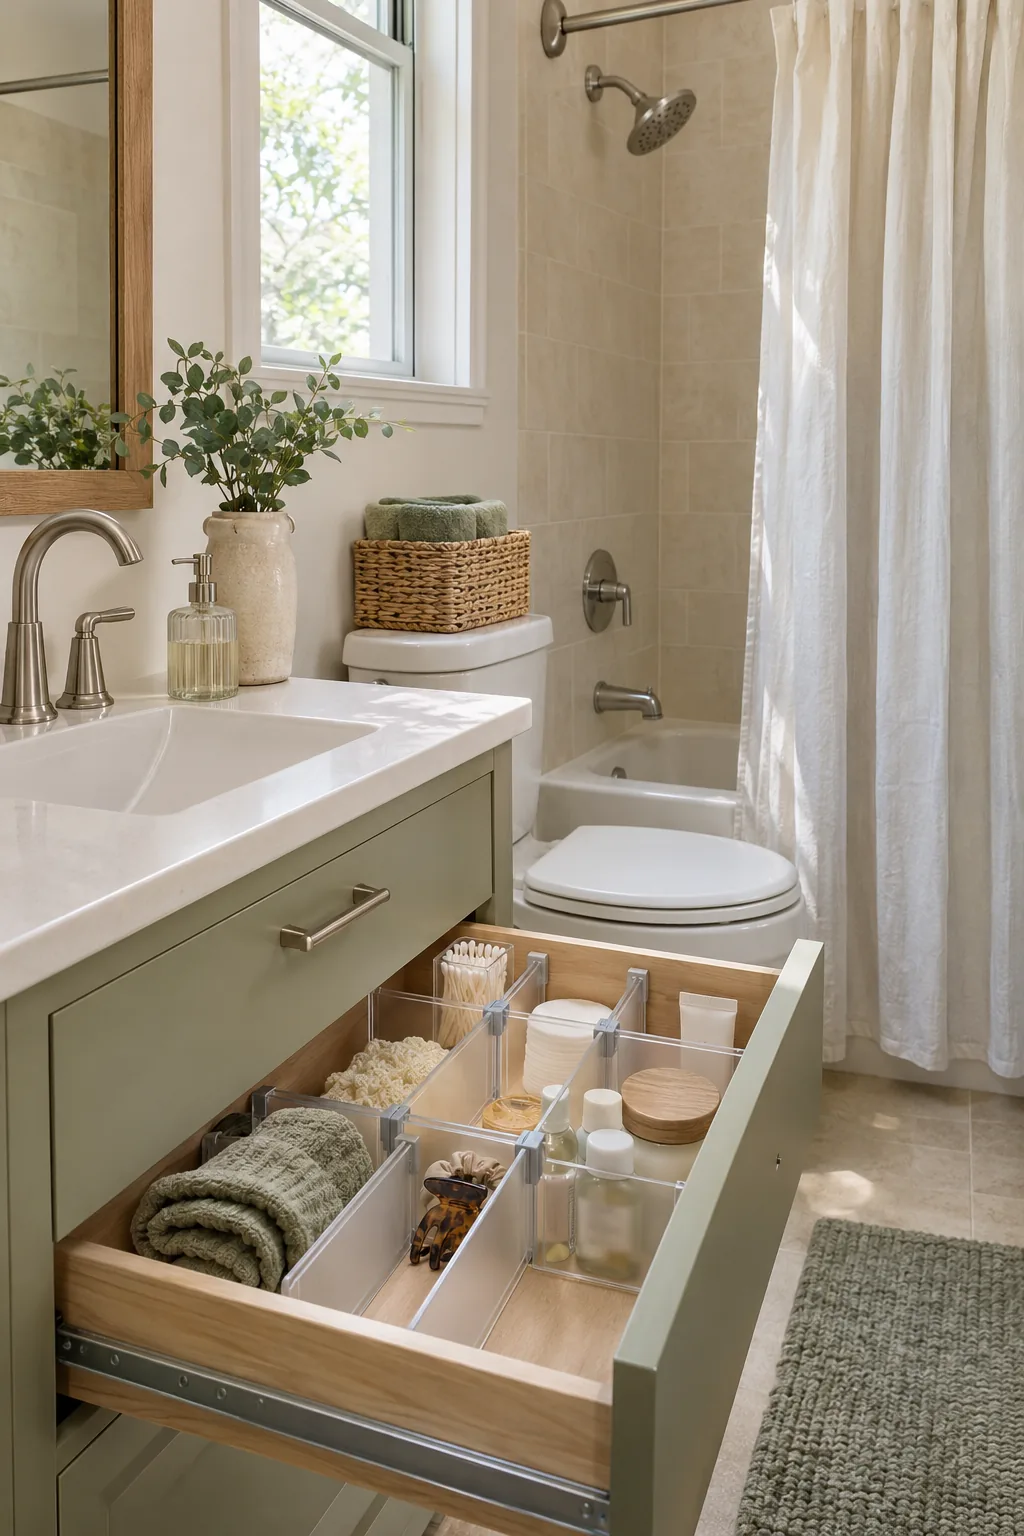
5. Divide a drawer with adjustable inserts
Measure the drawer's usable depth, including the space below the cabinet frame when it closes. Set the dividers to corral floss, clips, or spare toothbrushes. Choose inserts with gentle end pads and avoid overtightening them against thin drawer sides.
 Save
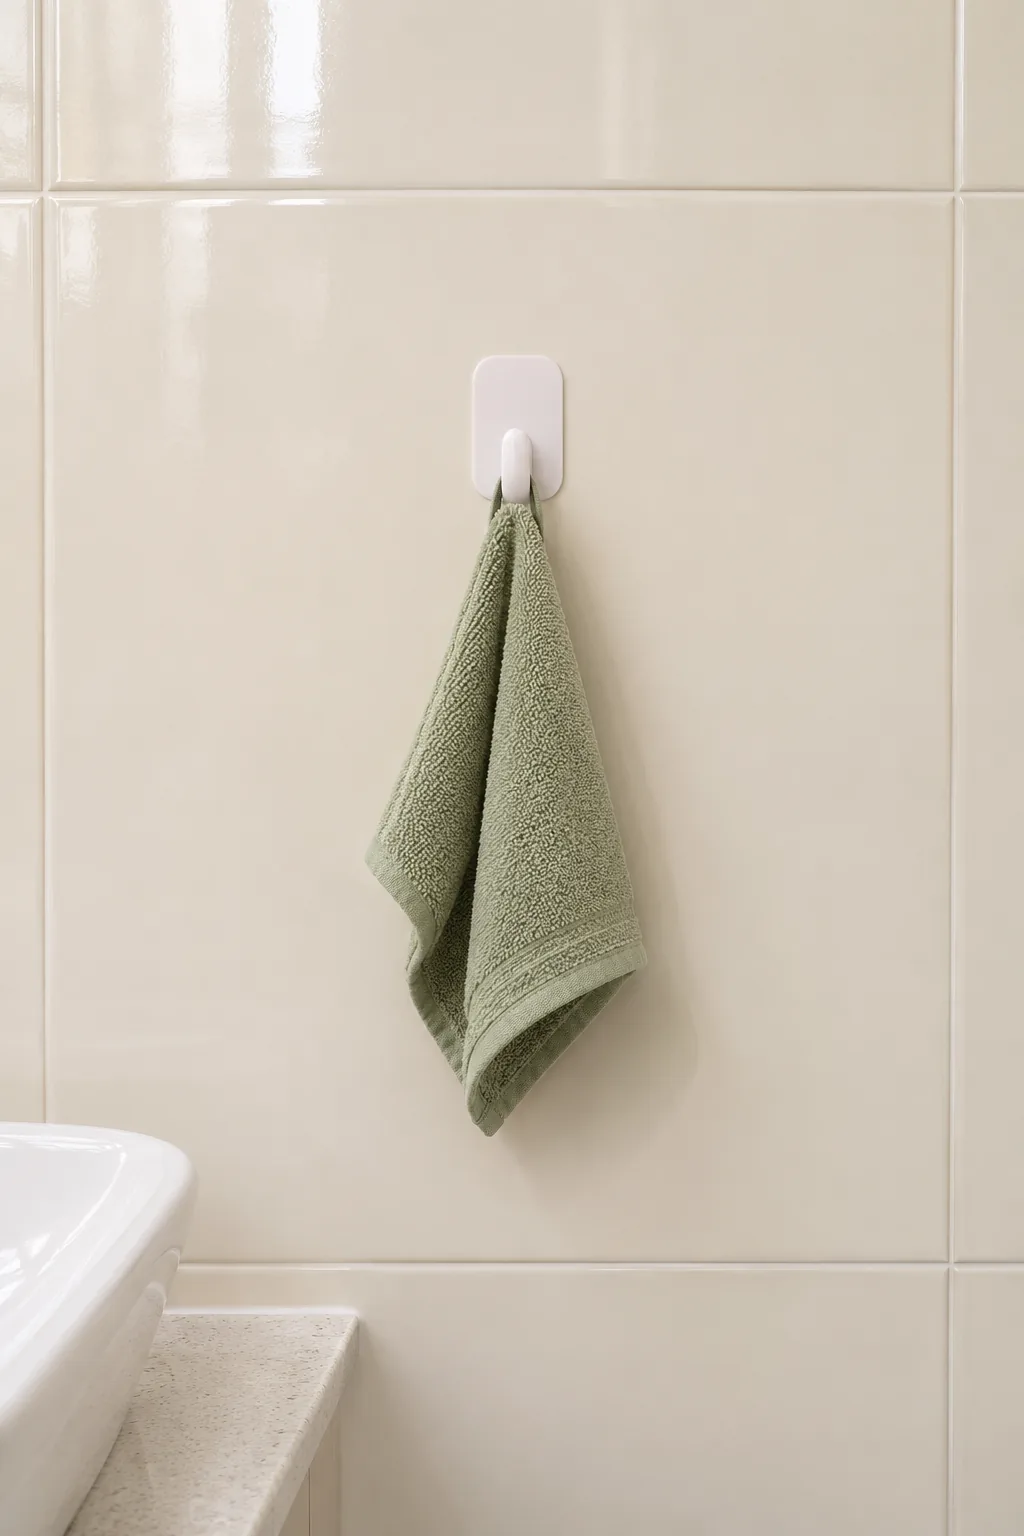
6. Put a washcloth on an adhesive hook
Use a bathroom-rated hook on a surface the maker approves, such as smooth glazed tile if listed. Avoid grout lines and follow the cleaning and waiting instructions. Count the weight of a wet cloth, and keep the hook away from direct spray.
 Save
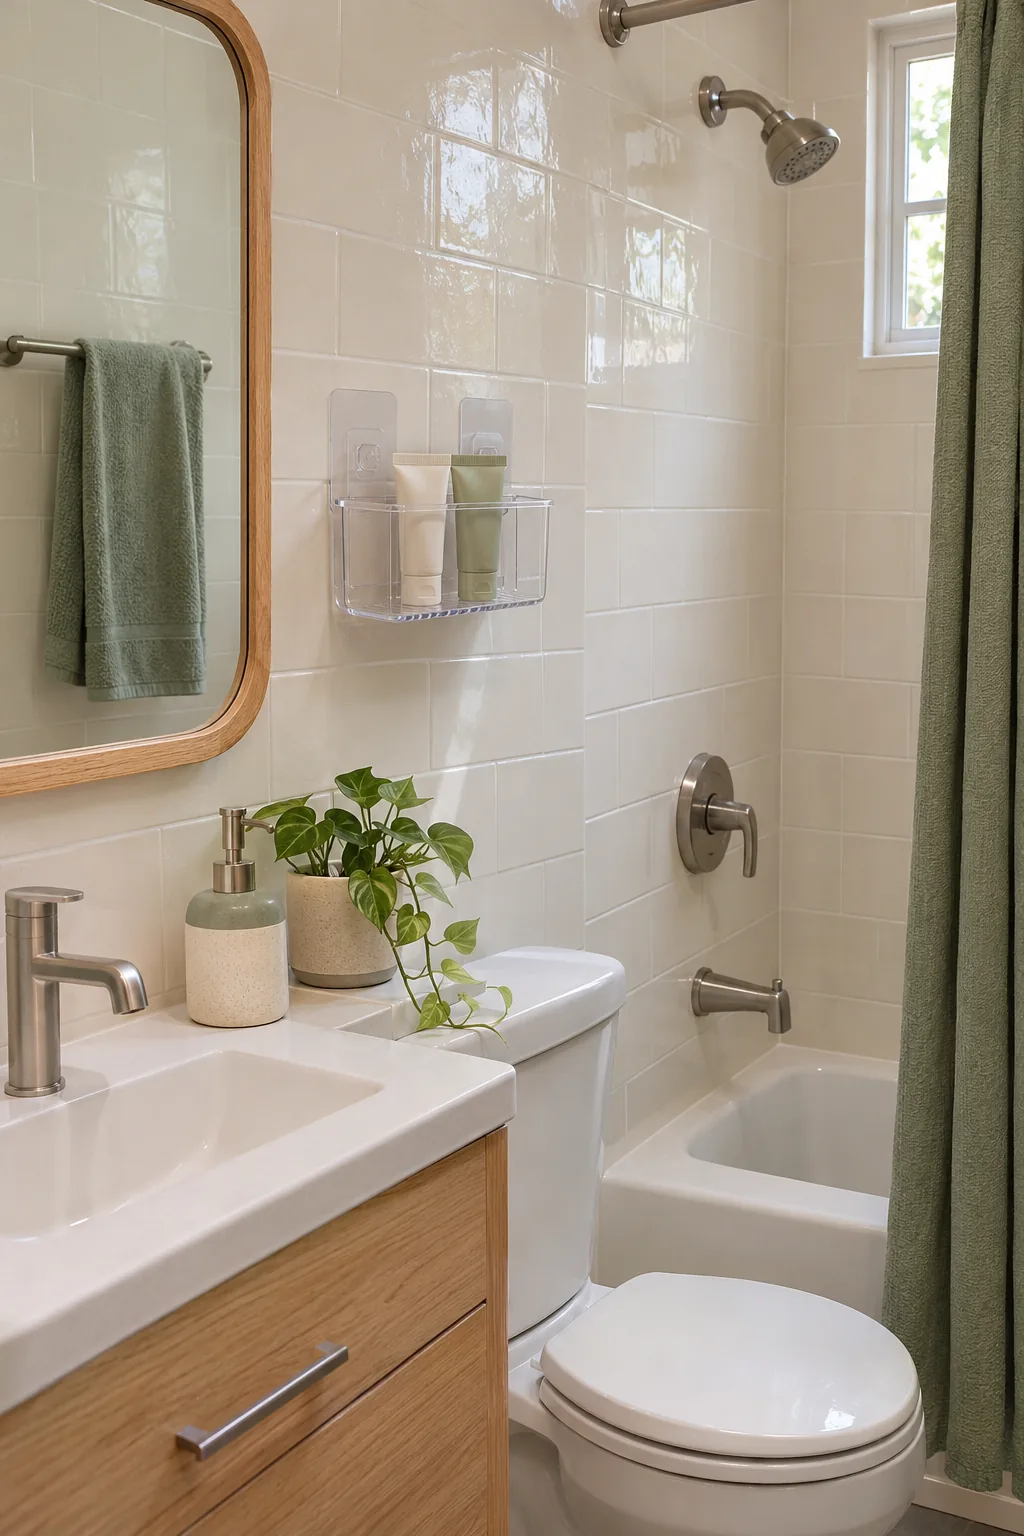
7. Use a light adhesive caddy in a dry zone
Mount a compatible removable caddy on a clean, approved surface near the sink. Give the adhesive its full setting time before adding a few light toiletries. Follow the maker’s load rating and instructions, and leave its removal tabs accessible.
 Save
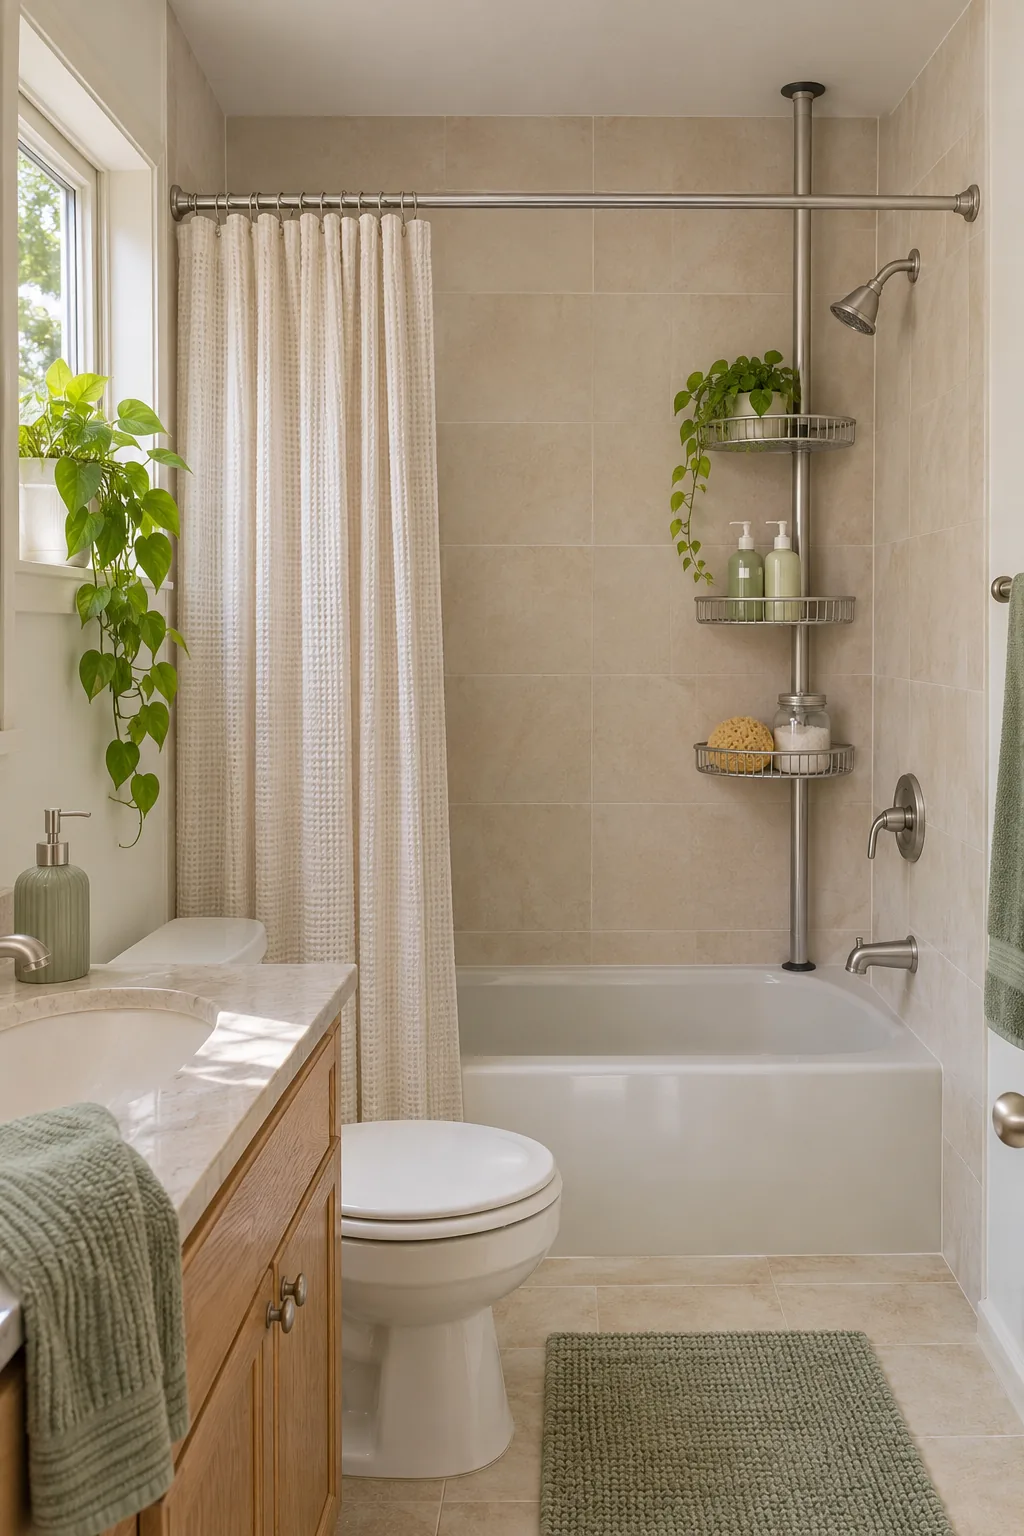
8. Fit a tension pole in the shower corner
Check the height range and confirm both bearing surfaces meet the pole maker's surface requirements. Fit it where it clears the shower door and normal movement. Spread bottles among the baskets within their limits, and check periodically for slipping.
 Save
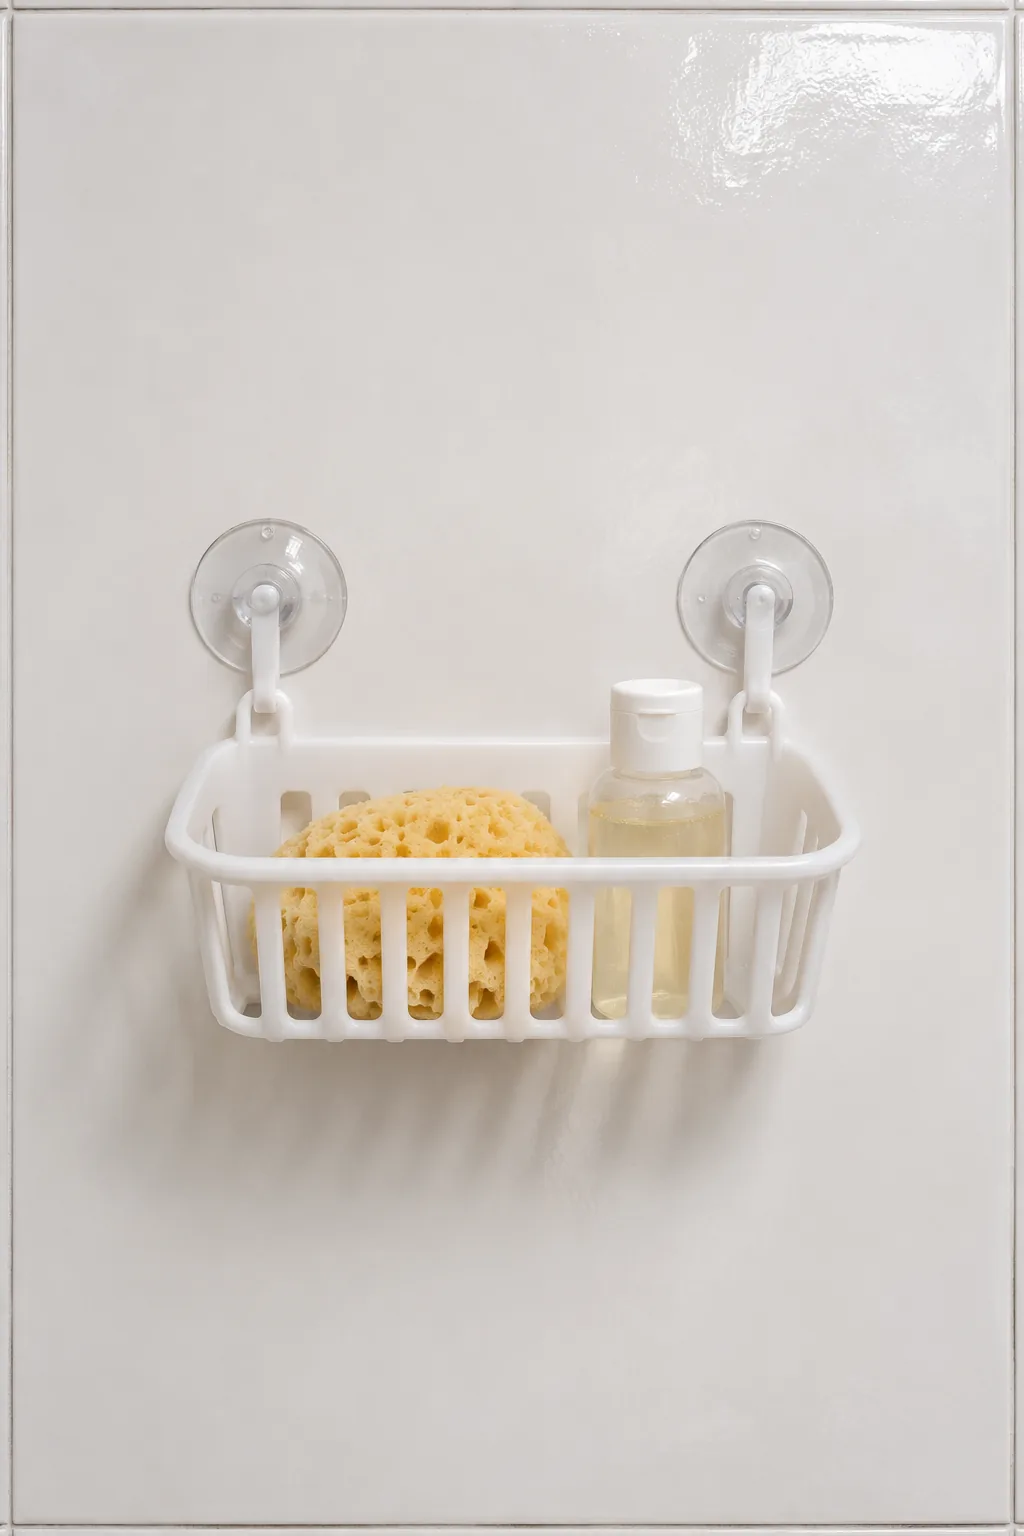
9. Try a suction basket on a smooth surface
Use suction only where the maker approves it, such as smooth glass or glossy tile. Keep cups off joints and textured areas. Start with light plastic items, check the seal after showers, and move the basket if it creeps or loosens.
 Save
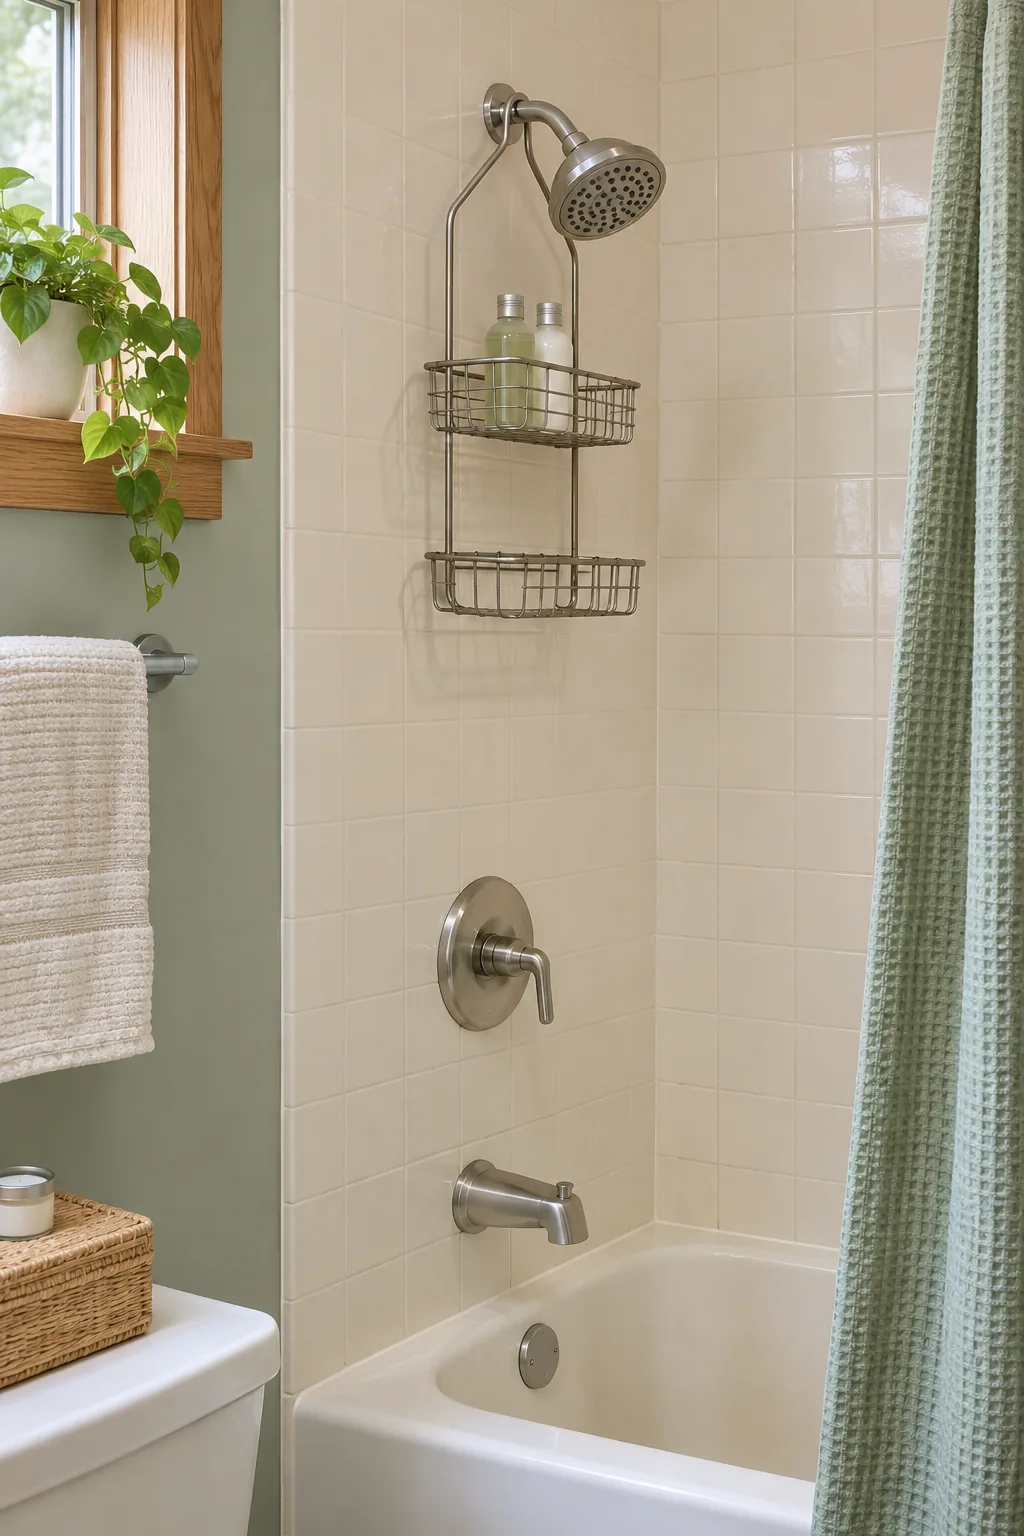
10. Hang a caddy from a compatible shower arm
Check that the caddy is designed for the fixed shower arm and that the fixture maker permits the added load. Keep the load light and balanced. Leave controls and any hose clear, and skip this option if the plumbing moves when touched.
 Save
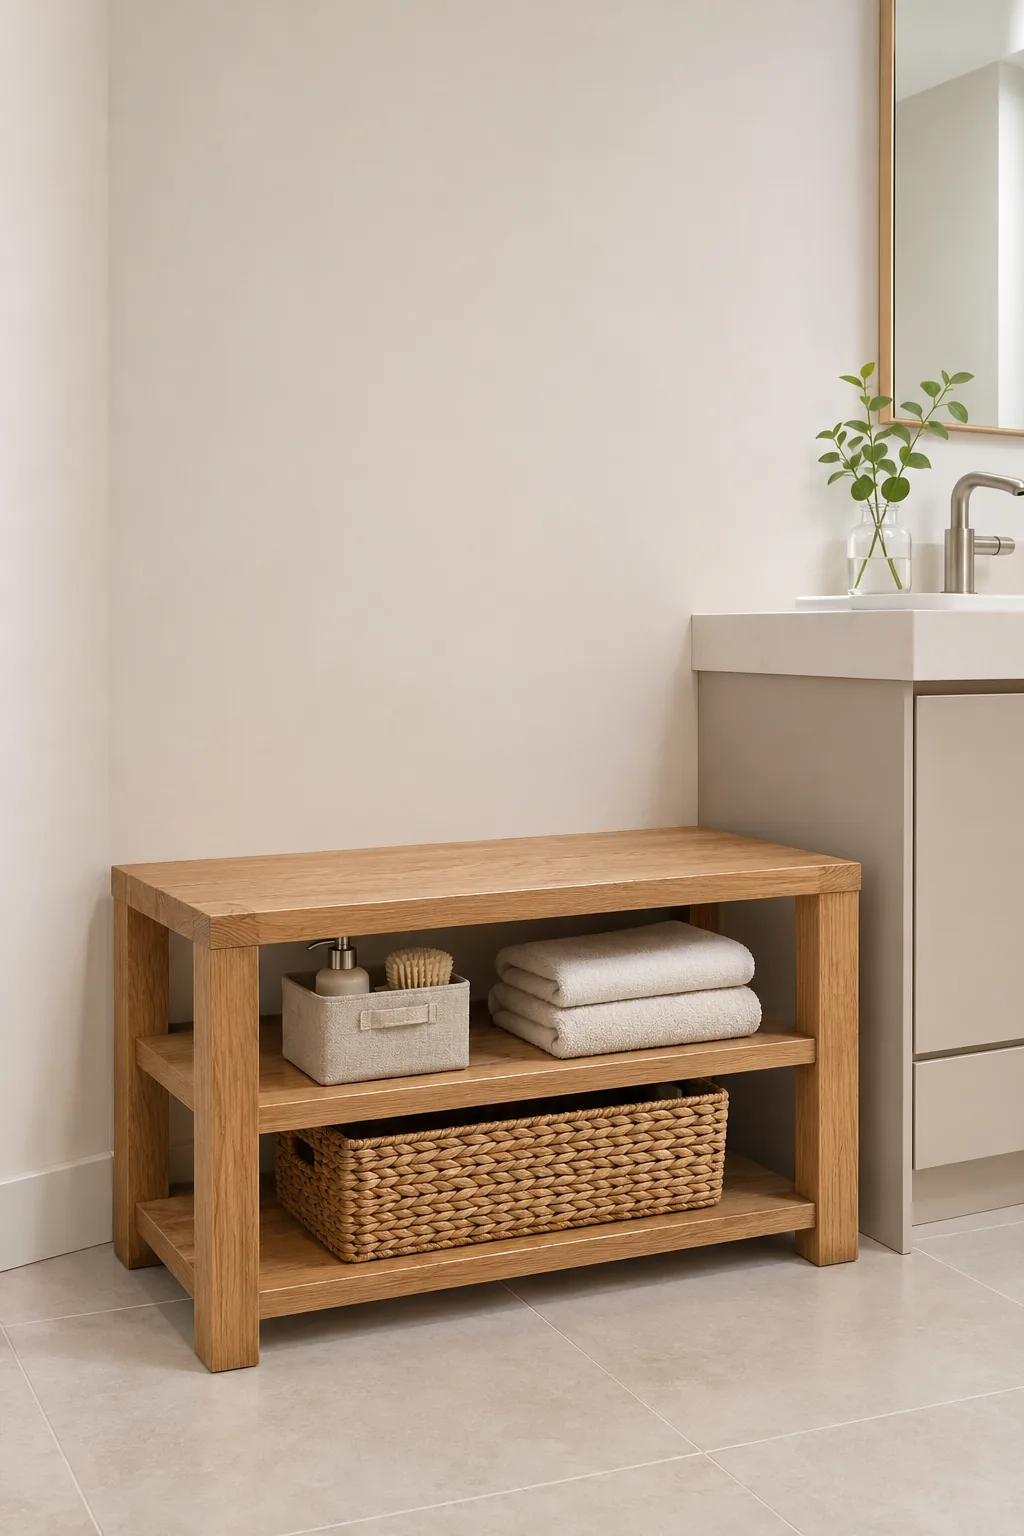
11. Pick a short freestanding shelf
Use a low, stable shelf that its maker permits without wall anchoring. Set it on a level dry floor and put heavier items on the bottom. If installation instructions require anchoring or the unit rocks under normal use, choose another design.
 Save
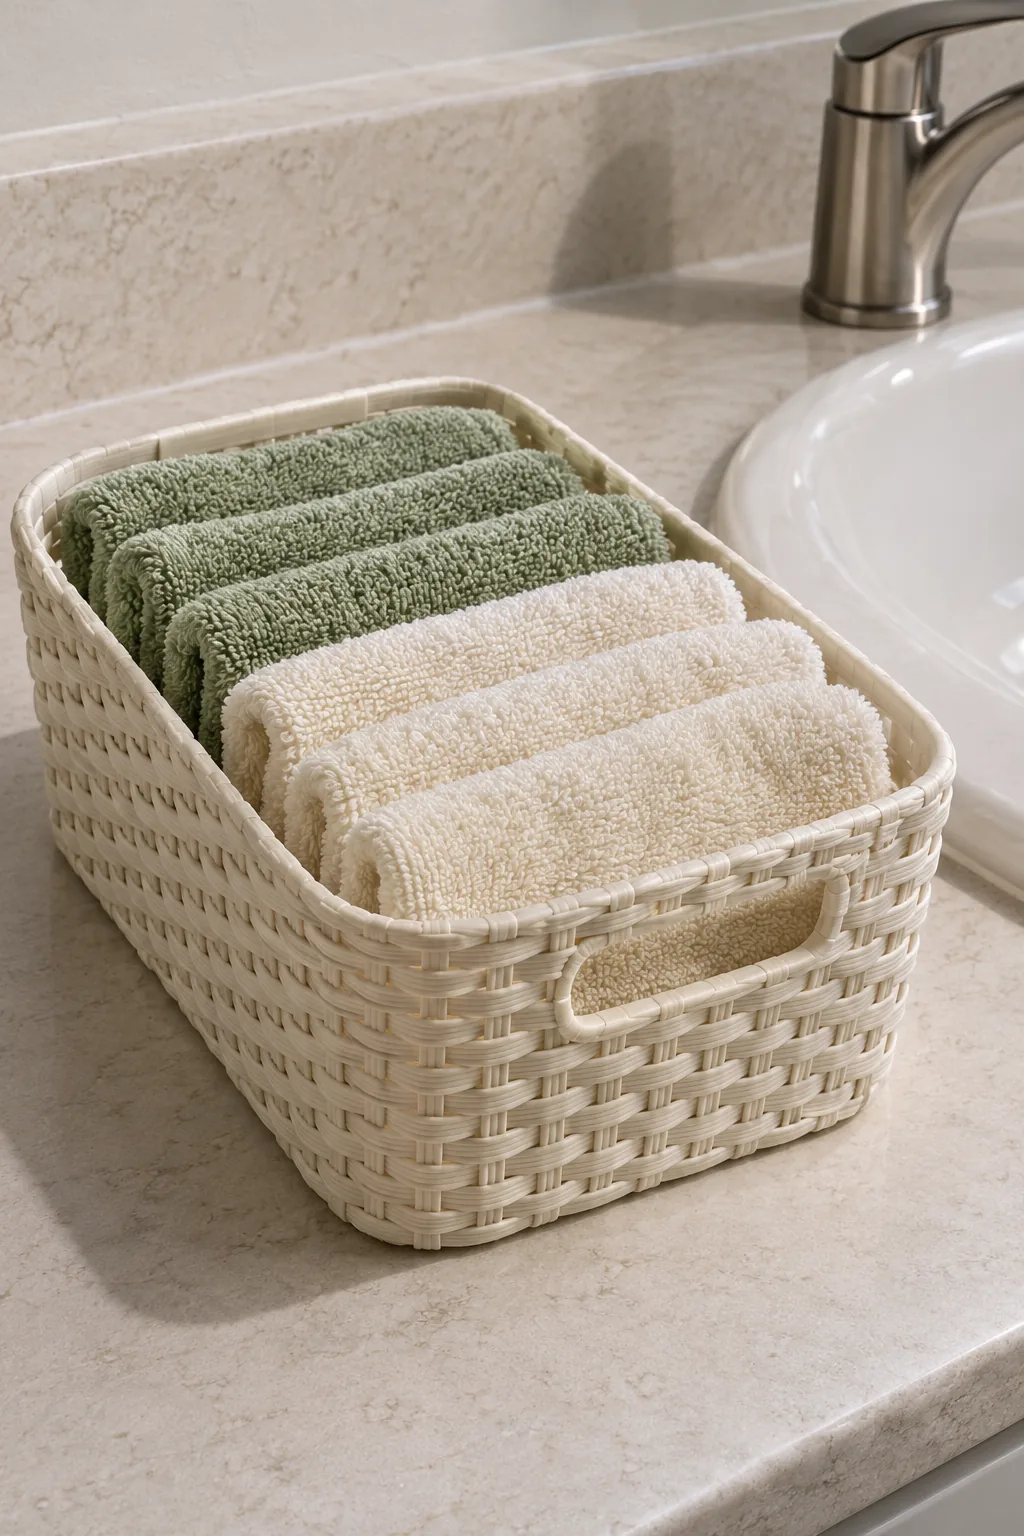
12. Keep daily washcloths in one basket
Set a small washable basket on the dry end of the counter, leaving room to use the faucet and wipe the surface. Store only clean, dry cloths inside. Hang used ones to dry instead of dropping them back into the basket.
 Save
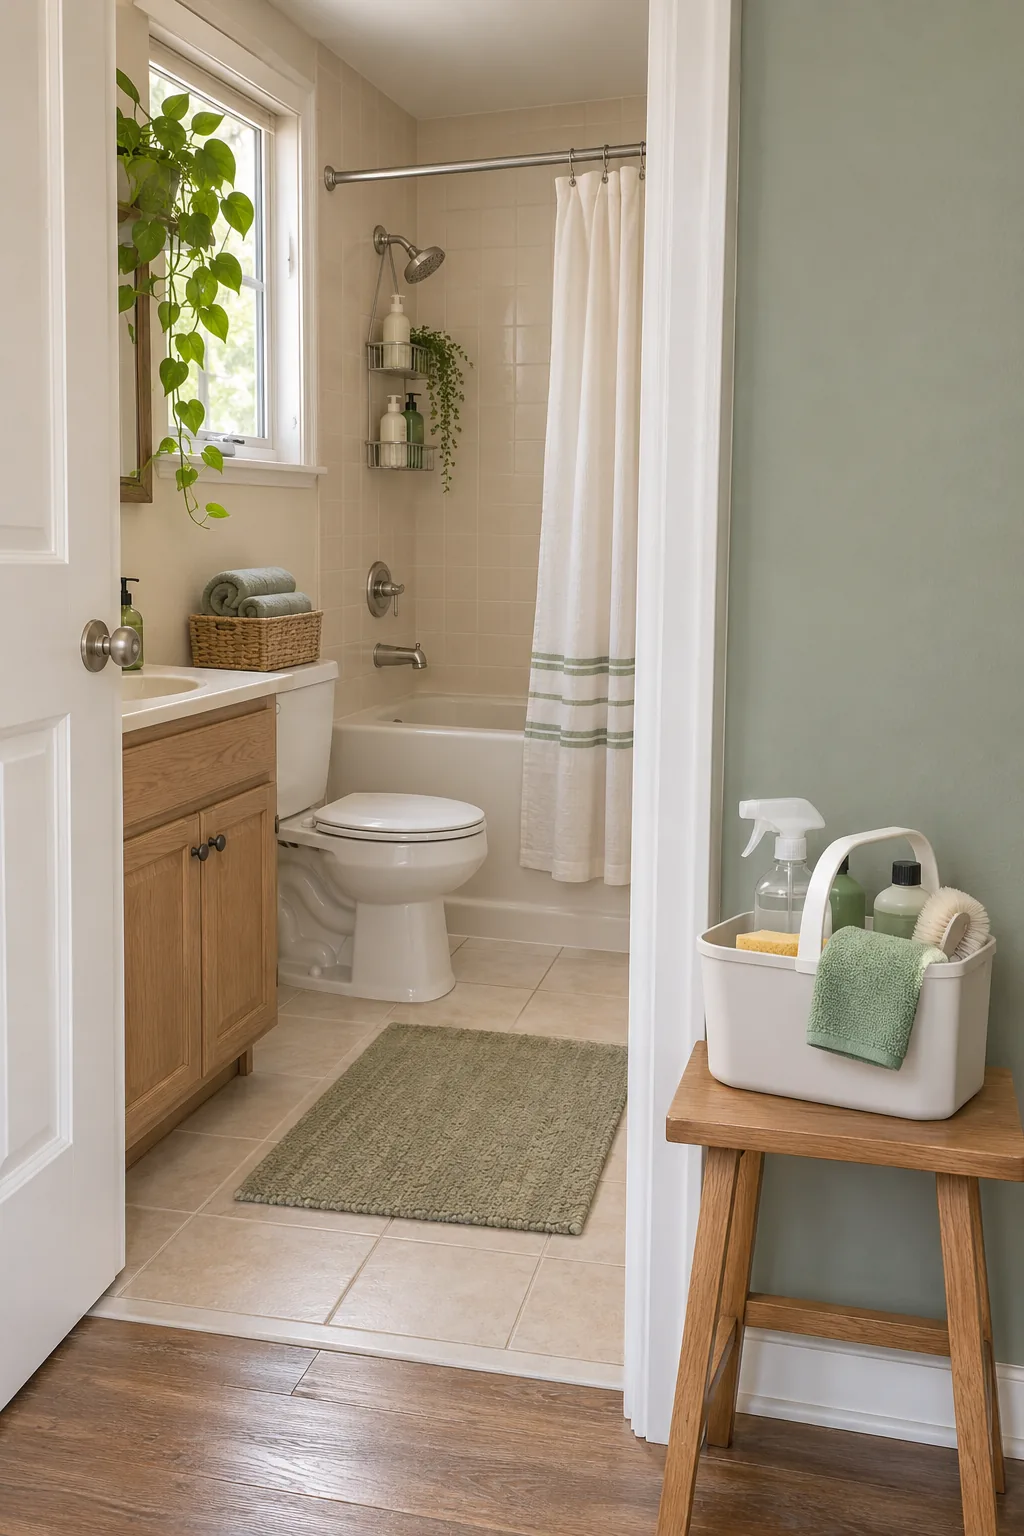
13. Carry cleaning supplies in from elsewhere
A handled caddy makes it easy to bring supplies in for cleaning and then free up bathroom space. Return chemicals in their original labeled containers to locked storage out of children's reach. Keep the caddy clear of the walkway during use.
 Save
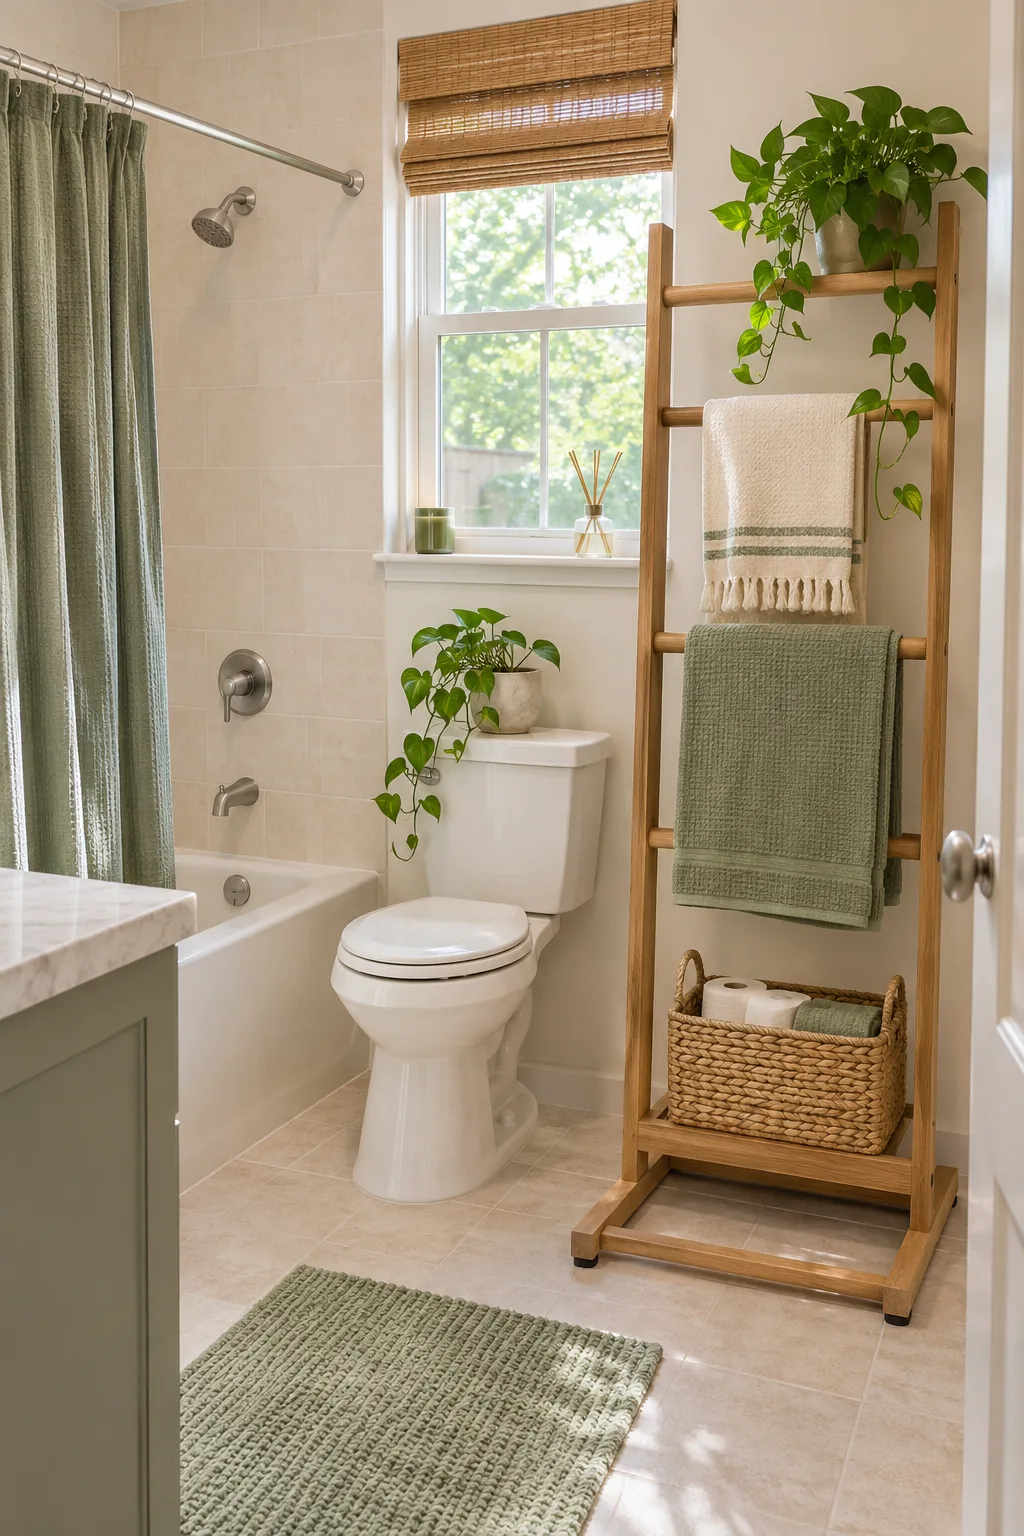
14. Dry towels on a freestanding rack
Choose a rack with its own stable feet rather than a ladder that needs wall support. Place it in a ventilated spot with room between towels. Check that feet do not obstruct the door or become a tripping hazard.
 Save
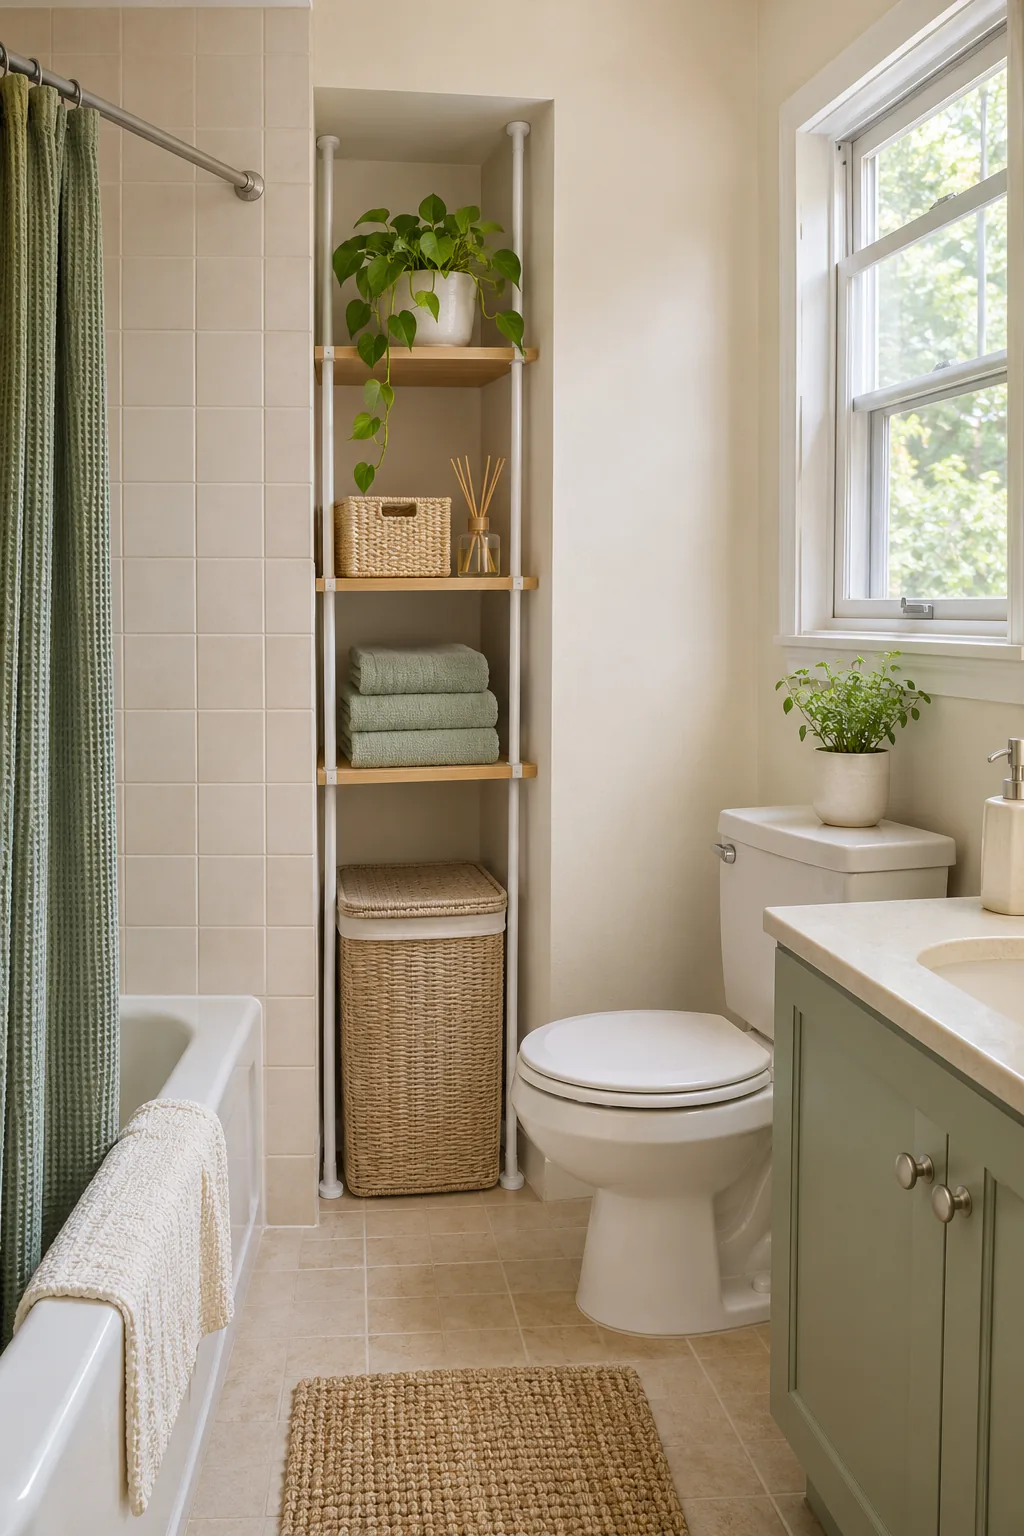
15. Tuck a ventilated hamper into a niche
Measure the niche and allow room to pull the hamper out or lift its lid. Choose an airflow-friendly design with a removable liner. Dry wet towels before adding them, and move the hamper if condensation collects behind it.
 Save
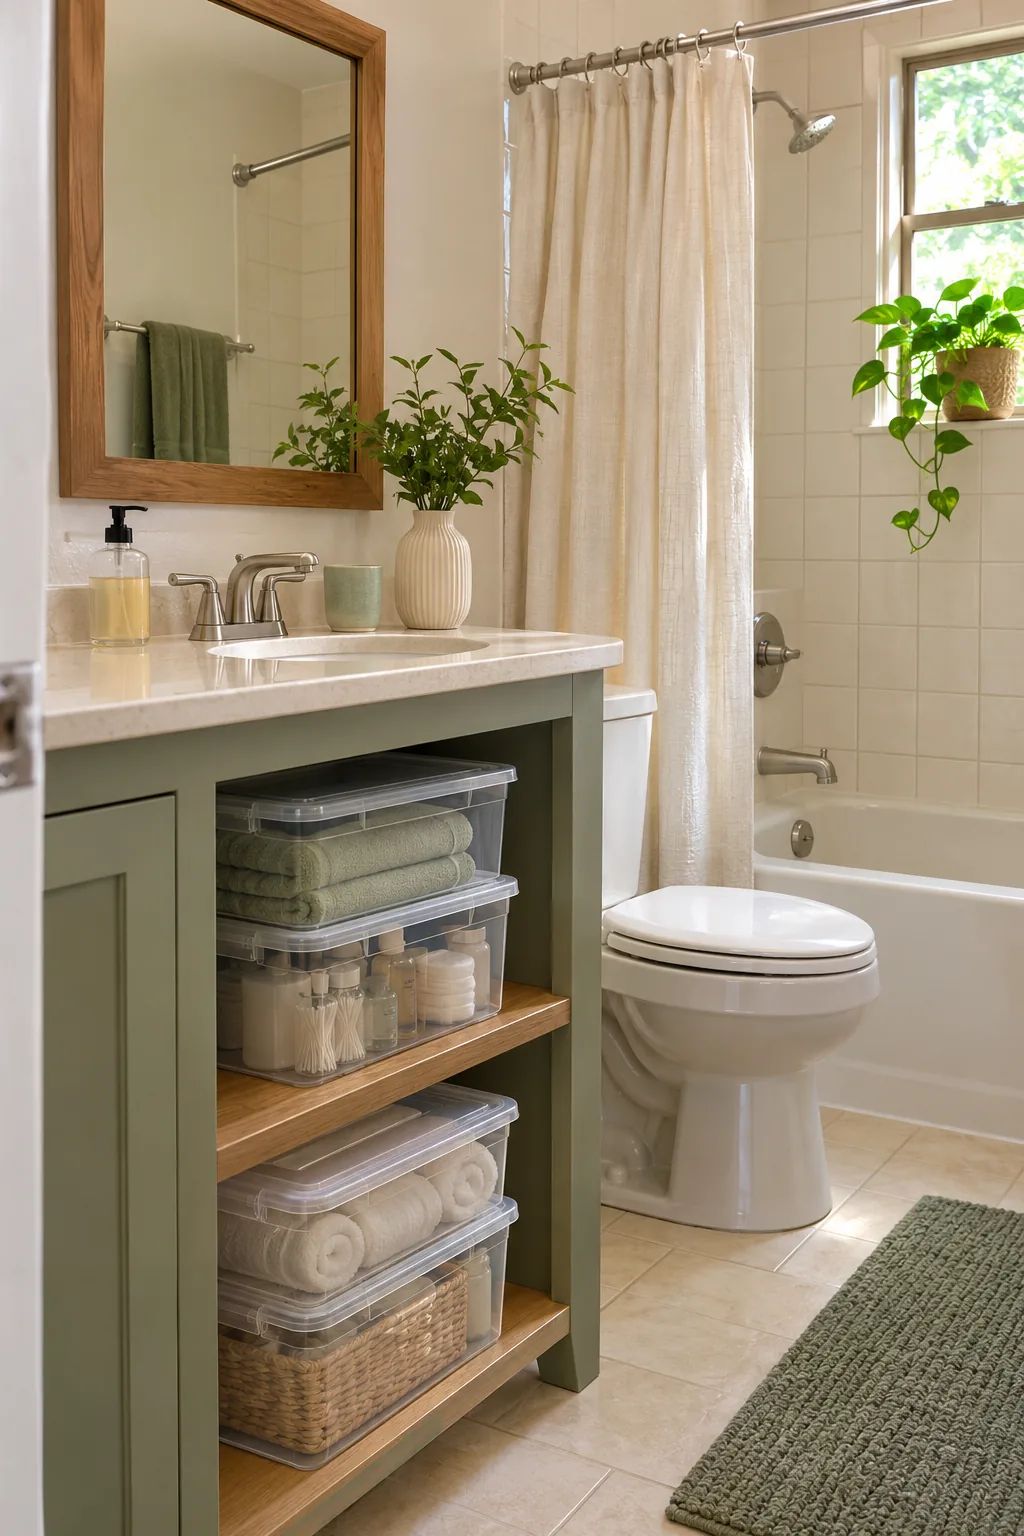
16. Stack lidded bins on a low shelf
Choose matching bins designed to stack and keep heavier refills in the bottom one. Make sure the shelf can hold the combined load and that you can lift the top bin comfortably. Store only dry items inside closed containers.
 Save
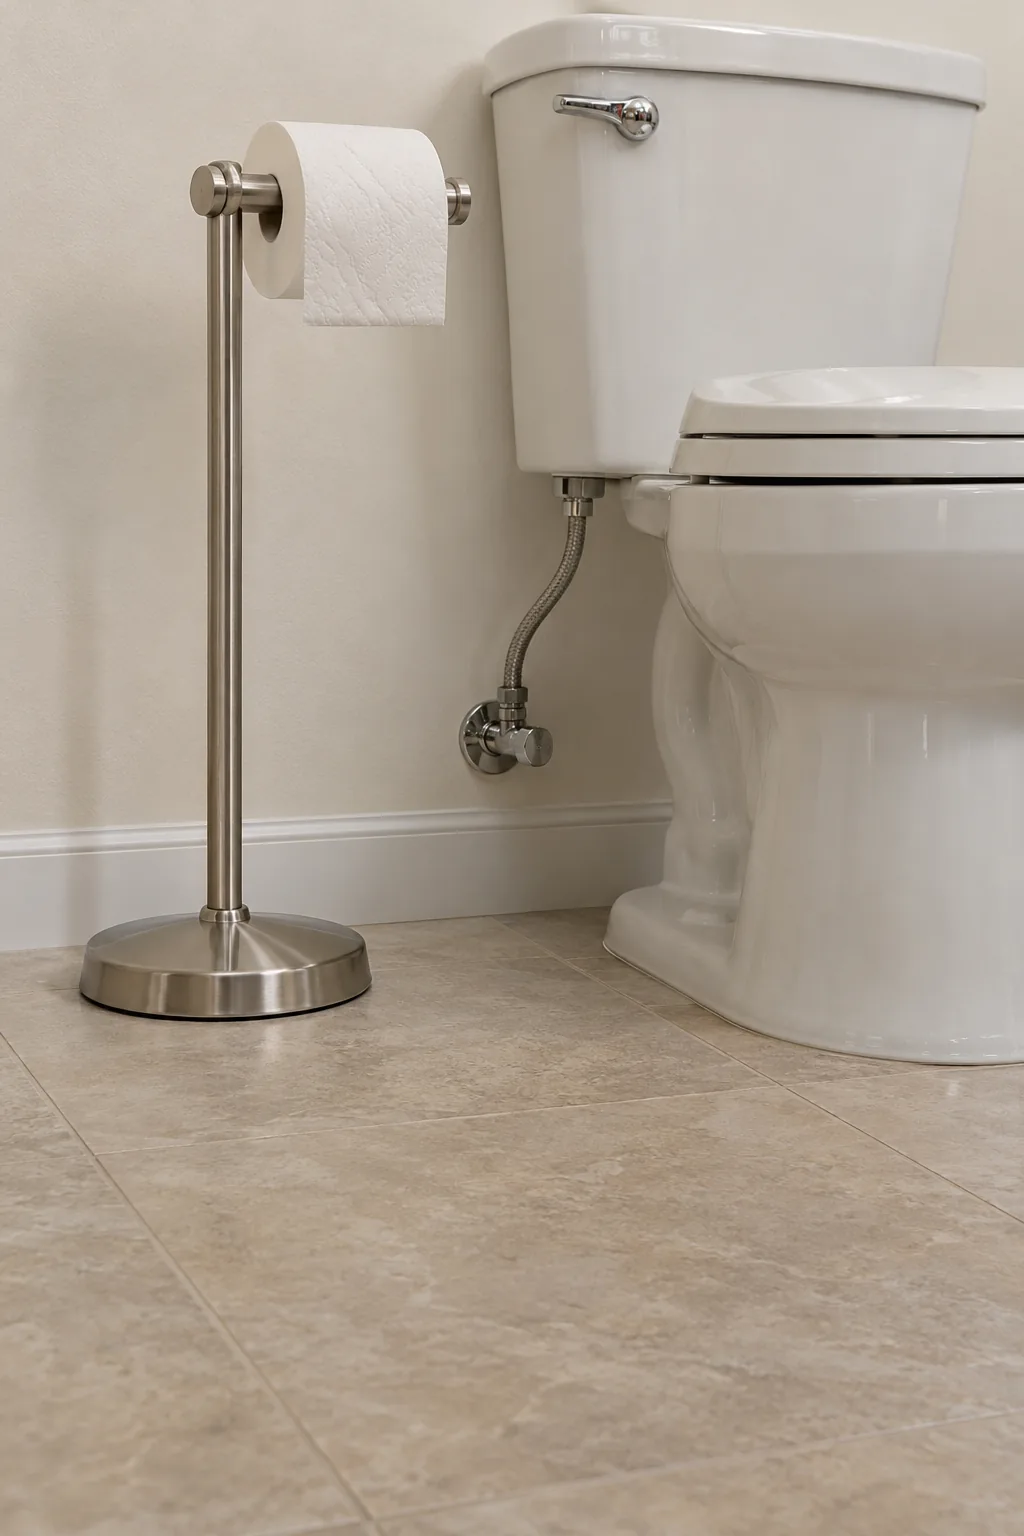
17. Use a weighted toilet paper stand
Place a compact weighted stand next to the toilet where rolls stay dry and easy to reach. Check seated reach and normal cleaning access before loading it. If the base narrows the walking path, use another small-bathroom storage option.
 Save